|
Home
- Restoration
- Exterior
Color - Other
Photos Working with
Plaster |
|
|
|
|
|
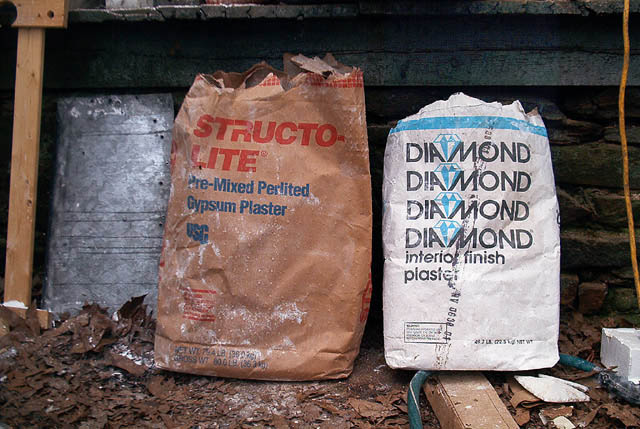
These are the brands of plaster I use. The Structo-Lite acts comes in 80 lb. bags and the Diamond Finish plaster comes in 50 lb. bags. Each is bag about 12 dollars. Each layer of 3-layer plaster requires a different mixture of these two products. For the scratch coat (first layer), I use 10 hand scoops of Structo-Lite and 5 hand scoops of Diamond. For the brown coat (second layer), I use 8 hand scoops of Structo-Lite and 8 hand scoops of Diamond. For the finish coat (final layer), I use 5 hand scoops of the Structo-Lite and 7 scoops of Diamond. Notice the final layer uses only 12 scoops as opposed to 15 and 16 scoops. This allows you to take your time with the final layer for better smoothness without allowing the mix to set in the trough. |
|
|
|
|
|
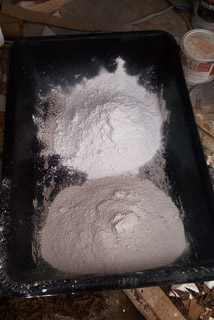
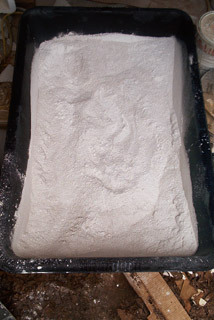
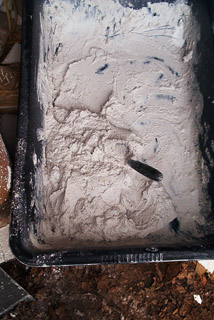
Shown in the left photograph are equal piles of Diamond Plaster (on top) and the Structo-Lite on the bottom scooped into a large cement trough. In the middle photograph, the two plasters are dry-mixed together and any hard lumps are crushed into powder. Remove any lumps larger than a dime and discard them as too many will cause the mixture to set too rapidly. Mix with enough enough water to create the consistency of cake batter but just a tad soupy. The extra water increases the working time. |
|
|
|
|
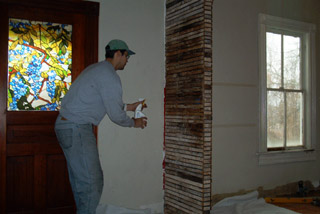
| Preparing for the first layer of plaster (the scratch coat), I lightly spray the dry lath with water just before applying the scratch coat. This prevents cracking due to rapid absorption from the dried out wood lath. | The second coat, the brown coat, is not shown but it looks similar to the scratch coat, just 3/8 inch thicker. Here I am putting the final layer of plaster on the arch. I will smooth it out by spraying it with water while it hardens. |
|
|
|
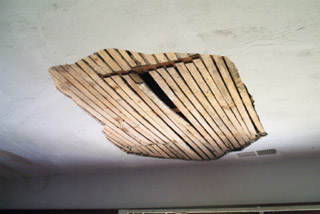
| This is a recent ceiling repair that I did. This old damage from a leaking roof that was repaired but the hole in the ceiling was never touched. I also removed any debris from the attic above. | Due to some warping in the wood, I reattached the lath using screws. I then used drywall screws and fender washers to secure the old plaster better to the wood lath. |
|
|
|
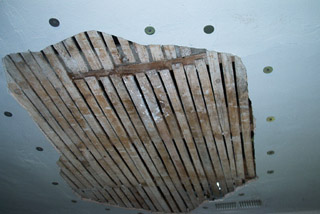
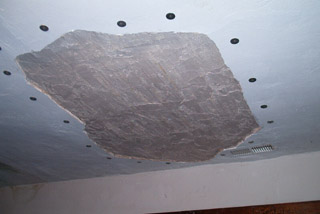
| This photo shows was taken after the scratch coat was applied. I tried to push in as much plaster into the spaces between the lath to create good keys. The brown coat looks the same just an additional 3/8 inch thick. | Here is a photo after the finish coat has been applied and the ceiling painted. Not much to notice here which was the goal. I use flat latex paint to hide imperfections in the walls and ceiling. |